What Photos Should You Include When Selling a Car?
Include at least 20 photos: front, rear, both sides, each corner, wheels and tires, interior, seats, dashboard, odometer, engine bay, cargo area, key blemishes, and proof of major options or repairs. Leave those shots out, and buyers are left guessing. That usually means fewer inquiries, more repeat questions, and lower offers. This guide shows which photos to take first, which extras matter, and how to order them so the listing answers condition fast.
What the right photos do for a listing
Good listing photos answer the buyer’s biggest questions before a message is sent. They show condition, confirm features, and make it easier to judge price without a viewing. High-quality pictures matter for a successful sale, and photos from all possible angles help buyers trust what they see.
Think of the set as a remote inspection. The first images should remove doubt about body shape, paint, cabin wear, and mileage. Extra shots belong in the gallery only when they prove value or explain a flaw.
Show condition before a buyer asks
Start with the shots that let someone inspect the car in order: full exterior views, cabin views, then details. That sequence matches how buyers look at a car in person. It also keeps the listing from feeling random.
Reduce uncertainty about price and defects
Photos of tread depth, seat wear, odometer reading, and visible damage help explain why a car is priced the way it is. If a bumper scuff is visible in person, it should be visible in the listing too. That honesty saves time later.
Use photos to support trust, not hype
Photos work best when they support the paperwork. A clean title, service history, and a current Carfax or AutoCheck report are generally more convincing when the pictures match the story. If the report shows a repair or accident, include a photo that shows the current condition clearly.
What you’ll need before you shoot
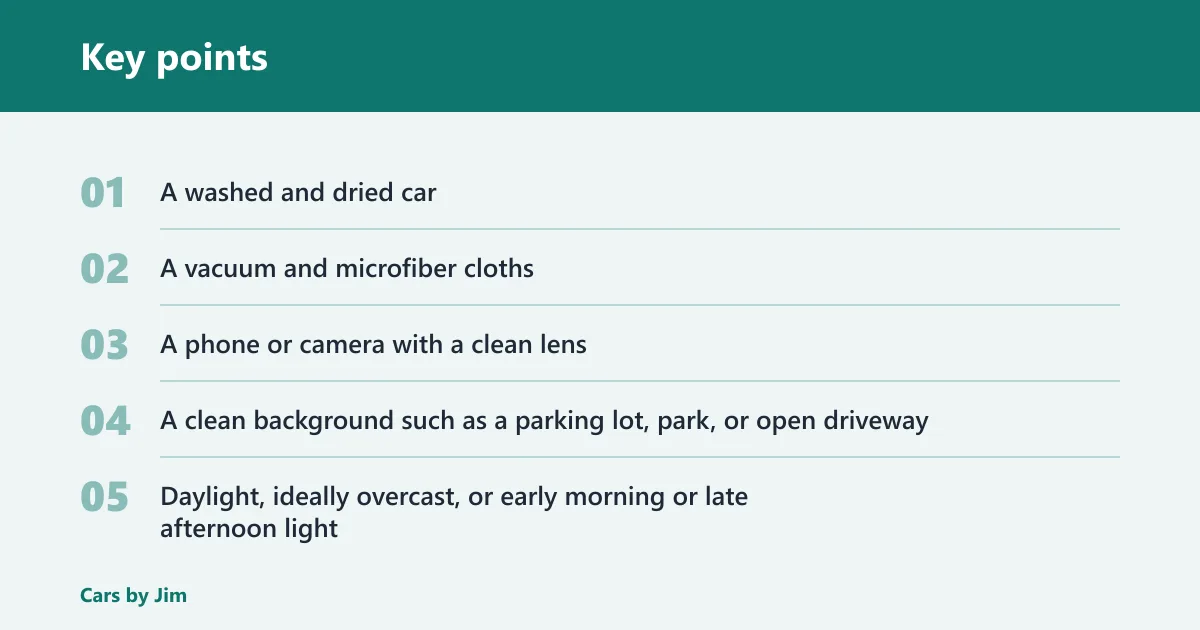
- A washed and dried car
- A vacuum and microfiber cloths
- A phone or camera with a clean lens
- A clean background such as a parking lot, park, or open driveway
- Daylight, ideally overcast, or early morning or late afternoon light
- Title, service records, and a vehicle history report such as Carfax or AutoCheck
- A tire-pressure gauge if you plan to photograph tread and wheel condition closely
Pick the setting first
Use daylight outdoors and avoid direct midday sun, which throws glare across paint and glass and cuts harsh shadows into the body. A neutral location such as an empty parking lot works well. Garage clutter pulls attention away from the car and makes the listing look rushed.
Gather the proof before you shoot
Have the odometer reading, service history, and history report ready so you can photograph or mention them accurately. If the car has recent tires, brakes, a replacement battery, or a major repair, capture that evidence while the engine is clean and the documents are close at hand.
- Photograph the full exterior from the front, rear, both sides, and each corner.
- Add cabin shots of the dashboard, front seats, rear seats, boot or trunk, and door panels.
- Take detail photos of the odometer, wheels, tires, touchscreen, leather seats, and visible wear.
- Include damage photos for scratches, dents, chips, and any cosmetic flaw that a buyer will notice.
- Add engine bay, underhood, underbody, or tire-tread photos only when age, mileage, or condition makes them useful.
- Place the clearest proof of value near the middle of the gallery so buyers see it before they lose interest.
Car listing photo priority checklist
| Photo type | Why it matters | Which cars need it most | Common mistakes to avoid |
|---|---|---|---|
| Front straight on | Shows stance, grille, headlights, and damage at the nose | All cars | Shooting too close or with wheels turned |
| Rear straight on | Shows tailgate, bumper, lights, and exhaust area | All cars | Blocking the plate or missing bumper damage |
| Front three-quarter | Shows body shape better than a flat angle | All cars | Cutting off a wheel or the full front end |
| Rear three-quarter | Shows the back half, hatch or trunk line, and quarter panels | All cars | Hiding dents in reflections |
| Both sides straight on | Shows panel alignment and paint consistency | All cars, especially modified or repaired cars | Taking the shot at an angle that distorts body lines |
| Each corner | Shows the car from every major angle in one sweep | All cars | Skipping a corner because it “looks similar” |
| Dashboard | Shows trim, screen, warning lights, and condition | All cars | Leaving glare on the cluster or screen |
| Front seats | Shows fabric or leather wear and cleanliness | All cars | Only showing the driver seat and hiding wear on the passenger side |
| Rear seats | Shows passenger space and use level | Family cars, SUVs, rideshare cars | Photographing with seatbacks folded or cluttered |
| Boot or trunk | Shows cargo space and lining condition | All cars | Leaving tools, bags, or mats in place |
| Door panels | Shows armrest wear, switches, and trim condition | Higher-mileage cars | Forgetting scuffs near the handles |
| Odometer | Confirms mileage and supports the ad text | All cars | Capturing blur or a dash reflection |
| Wear and tear | Explains price and condition honestly | Older and higher-mileage cars | Hiding bolsters, mats, or pedal wear |
| Alloy wheels and tires | Shows curb rash, tread, and service clues | Used cars, performance cars, SUVs | Photographing only the cleanest wheel |
| Touchscreen or leather seats | Shows options buyers pay for | Well-equipped cars | Ignoring worn edges or dead pixels |
| Engine bay | Shows maintenance condition and possible leaks | Older, high-mileage, or modified cars | Adding it for a clean low-mileage car with nothing notable to show |
| Underhood and underbody | Helps explain rust, repairs, or off-road use | Rust-belt cars, lifted trucks, project cars | Using them as filler on a normal commuter car |
How many photos should I put in my car listing?
Fifteen to 20 photos is the practical target for most private sales. That range gives enough coverage to show condition from multiple angles without overwhelming the buyer. It also matches the common guidance to include plenty of photos and enough views for a remote judgment.
If the car is newer, stock, and clean, you may land near the lower end. If it is older, modified, high-mileage, or has visible wear, use the upper end and include the evidence that explains the price.
When fewer photos are enough
A low-mileage, unmodified car with a clean history report and little visible wear may need only the core set: exterior, interior, odometer, trunk, and a few details. In that case, 15 photos can be enough if each one adds something new.
When to add more than the basics
Add extra photos when the car needs explanation. A 140,000-mile sedan, an older 4×4, or a modified coupe may need more close-ups of tires, underside panels, seat wear, and repairs. More photos help when they answer a real question.
Which exterior and interior photos matter most?
The most useful exterior set is front straight on, rear straight on, both sides straight on, front three-quarter, rear three-quarter, and each corner if needed to show the full body shape. Inside, buyers want the dashboard, front seats, rear seats, boot or trunk, and door panels. That is the core view of a used car.
Close-ups matter when they answer value questions. Buyers look closely at tire tread, wheel rash, seat wear, odometer mileage, and the condition of the screen or leather. Those shots should be sharp and uncropped enough to show what is actually there.
Close-up versus distance
Use distance for shape and alignment. Use close-up for wear, mileage, and options. A wide shot proves the body is straight enough to consider; a close shot proves the tire still has tread or the seat bolster is still tidy.
Suppose a 2016 SUV has 92,000 miles and new all-season tires. A full wheel photo shows the tread pattern, and a closer tread shot proves the tires are the same set mentioned in the ad. That keeps the claim easy to verify.
Should I show damage and history?
Yes. Photograph scratches, dents, bumper scuffs, stone chips, torn trim, and any hidden issue that could affect trust or price. Damage photos are strongest when they are clear, well lit, and shown beside a normal angle so buyers understand the scale. Do not hide flaws at the end of the gallery.
How to photograph flaws without making the listing look evasive
Show the car from a normal angle first, then move to the defect. If there is a scratch on the rear door, include one full side view and one tight photo of the scratch. That order makes the flaw feel disclosed instead of disguised.
When engine bay, wheel, tire, and underbody photos help
Engine bay photos are worth adding for older cars, high-mileage cars, and vehicles with recent maintenance or leaks to disclose. Tire and wheel close-ups help on any used car because buyers check tread and curb rash. Underbody photos matter most on rust-prone cars, lifted trucks, and off-road vehicles.
Pair photos with paperwork
Put the vehicle history report, mileage, accident history, and service history in the listing text, then let the photos support those facts. If the report shows an accident, show the repaired area. If there is a documented service item, photograph the part or receipt so the buyer can connect the dots.
Common mistakes
Bad light and cluttered backgrounds make the car look worse than it is. Shoot outdoors in daylight and avoid direct midday sun, dark environments, and garage clutter. A clean parking lot, park, or open driveway works better than a crowded driveway or dim garage.
Missing key angles is another problem. If buyers cannot see both sides, both corners, the rear seats, or the odometer, they will ask follow-up questions or move on. Duplicate shots also waste space. A gallery should answer questions, not repeat the same view three times.
Another common first-timer mistake is hiding damage behind wide shots only. Picture a sedan with a 2-inch bumper scrape on the rear corner. If the listing shows only the front and one side, buyers assume the worst. A direct close-up removes that uncertainty.
Prevention: build the gallery in order every time: outside, inside, details, then flaws and proof items. That keeps the listing honest and easier to scan.
Frequently asked questions
What photos should you include when selling a car?
Include front, rear, both sides, each corner, dashboard, front seats, rear seats, trunk or boot, door panels, odometer, wheels, tires, and any visible damage. Add engine bay and underbody shots only when age, mileage, rust, or modifications make them useful. The goal is to answer condition fast.
What background and lighting make car listing photos look best?
Use outdoor daylight, preferably overcast, or shoot near sunrise or sunset. Avoid direct midday sun, which causes glare and hard shadows, and avoid dim environments. A clean background such as a parking lot, park, or open driveway keeps attention on the car instead of the surroundings.
Should I include photos of the odometer and engine bay?
Yes for the odometer, because mileage is one of the first things buyers check. Include the engine bay when the car is older, high-mileage, or has recent repairs, leaks, or modifications worth showing. For a newer stock car, it is useful but not always necessary.
Should I photograph scratches, dents, and other damage?
Yes. Photograph visible flaws clearly, with one normal angle and one close-up if needed. Show scratches, dents, curb rash, and worn trim before a buyer has to ask. Clear damage photos usually build more trust than a spotless-looking gallery that seems incomplete.
What interior photos do car buyers want to see?
Buyers usually want the dashboard, front seats, rear seats, boot or trunk, and door panels. Those shots show use, space, and trim condition. If the car has leather seats, a touchscreen, or other paid options, photograph them clearly so the listing matches the equipment.
Which details should be shown close-up versus from a distance?
Use wide shots for body lines, stance, and panel alignment. Use close-ups for odometer reading, seat wear, wheel rash, tire tread, touchscreen condition, and scratches. If a photo answers a value question, it should be close enough to verify the detail without guessing.