How to Take Car Listing Photos with Your Phone
Use your phone in bright open shade, clean the car, and take about 20 to 24 photos: front three-quarter, rear three-quarter, both sides, wheels, interior, odometer, cargo, tires, and flaws. Bad photos cut trust and invite low offers. This guide shows what to tap, where to stand, and which shots to take in one session.
Why your phone is enough
A modern smartphone camera is enough for a strong listing if you use photo mode, keep the image wide, and hold the phone steady. Mr. Auto Buyer recommends a smartphone such as an iPhone 11 or later, and that level of camera quality is more than adequate for clear listing photos.
What buyers notice first is simple: clean composition, believable light, and whether the car looks honestly presented. A blurry shot with a busy background can make a solid car look neglected. A sharp, level image with clear details does the opposite.
What buyers notice first
They scan the first image, the body lines, wheel condition, and whether the listing hides anything. They also notice if the background is messy, if the car leans because the horizon is crooked, and if reflections make the paint look edited.
Settings to check before you start
Turn on grid lines so you can level the car and keep the horizon straight. Use horizontal orientation for every frame. Tap to meter on the car body, then adjust exposure slightly if the phone makes the paint too dark or too bright. Keep photo mode on, not square crop.
Mr. The same source recommends horizontal orientation, and Popular Photography advises avoiding an eye-level perspective. That means the camera should sit a little above or below the normal standing line, not exactly where a person’s eyes would be.
Get the car ready to shoot
Wash and dry the car first. Clear the cabin, remove loose trash, and put away personal items. A quick prep pass helps the phone capture the paint, glass, and interior surfaces instead of clutter.
Open doors, pop the hood, and stage the keys before you start. Put service records together if you plan to photograph them. If the car has wheel damage, stains, worn bolsters, or rust, leave those visible. Hidden flaws only create problems later.
Choose a clean backdrop
A neutral, uncluttered background improves thumbnail performance and keeps attention on the vehicle. Avoid busy lots, poles, and other cars when you can. Some tools offer background replacement, but that should never be used to mislead a buyer about where the car sits or how it looks.
Say your car is parked beside a row of silver sedans and a light pole splits the roofline in the frame. Move it 20 feet to a quieter edge, even if the surface is less perfect. The cleaner background matters more than the prettier pavement.
What lighting works best?
Bright overcast or open shade is often best for car listing photos because it gives softer, more even light and can reduce glare on paint and glass. Avoid night shots and harsh midday sun. Side lighting works best for body shape, according to Mr. Auto Buyer, because it shows contours without blasting the whole side of the car.
Best conditions for exterior shots
Overcast skies are ideal for most colors. Open shade works well when the car is parked beside a building or under a roofline that blocks direct sun but leaves the area bright. Autopix recommends soft, even light and overcast days, which lines up with what makes reflections easier to manage.
How to handle harsh sun, dusk, and rain
Harsh midday sun makes paint look patchy and throws hard shadows under mirrors, wheel arches, and door handles. If that is your only option, move the car into open shade or wait for the sun to drop lower. Dusk is risky because noise and blur increase as the phone slows the shutter.
Rain is a poor choice for the main listing set. If you must shoot in wet weather, use a covered area with bright ambient light and wipe off droplets on glass, badges, and headlights. Avoid puddles that reflect clutter and make the lot feel crowded.
Why flash usually hurts car photos
Flash usually creates hot spots on glass, chrome, and paint. It can flatten body lines and make the car look less natural. Use ambient light instead. Flash is only a last resort for a small interior detail if the cabin is dark and the phone cannot hold detail any other way.
Shoot the exterior in the right order
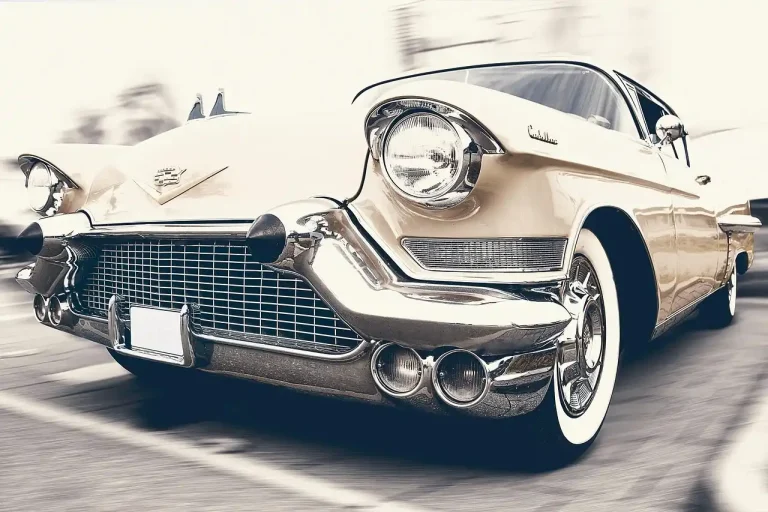
Start with the hero shot, then move around the car in a fixed sequence. That gives the listing a clear flow and keeps you from skipping important angles. Listiq AI says the front three-quarter is the hero shot, and that is the right place to begin.
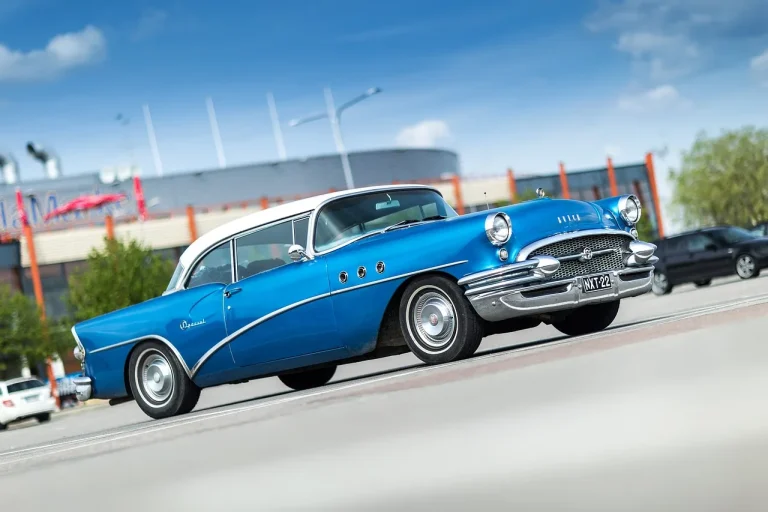
Use a front three-quarter angle with the front wheel turned slightly for a more dynamic look. Frame it around headlight height so the car feels balanced, not tiny, and not shot from too high. The same source recommends standing 3–5 metres away from the car and placing the camera at the car’s midpoint for the best angle.
Hero shot: front three-quarter
This should be image one. Stand off the front corner, keep the phone horizontal, and tap the paint or headlamp to meter exposure. Turn the front wheel slightly away from the camera. That small change helps show wheel design and gives the car shape.
Rear three-quarter and side profile
After the hero shot, move to the rear three-quarter angle, then the full side profile. Keep the car level in the frame and avoid cropping off bumpers or mirror caps. These shots help buyers read panel alignment, wheel condition, and body length.
Straight-on front and rear views
Take a straight-on front shot and a straight-on rear shot next. Stand back far enough that the full bumper and roofline fit cleanly. These images help buyers compare trim pieces, grille design, tail lamps, and any obvious mismatches after repairs.
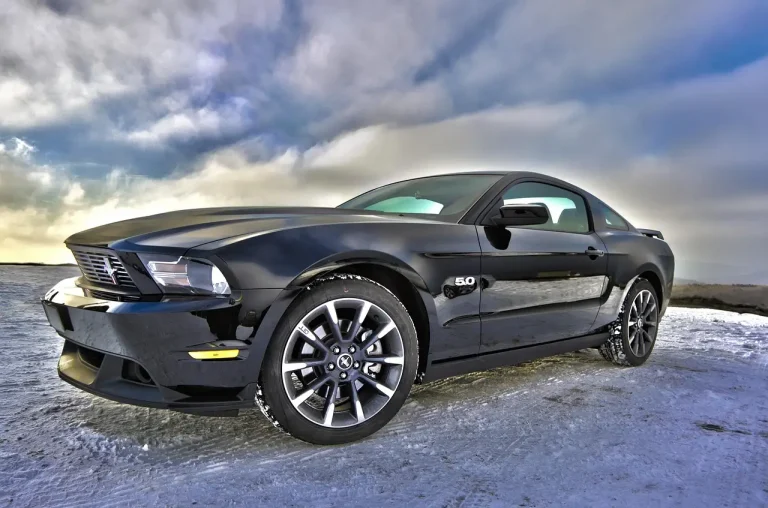
Picture a black sedan on a bright day. The body reflects everything around it. If you shoot from too close, the reflections swallow the panel edges. Step back, tap to meter on the door, and let the phone hold detail instead of forcing the car to fill the frame.
What interior photos do buyers want?
Buyers typically want a clear view of the dashboard, steering wheel, seats, floors, odometer, and cargo or trunk area. They also want proof that the cabin is clean and that the controls, infotainment, and trim are present and intact. Interior shots answer questions that exterior photos cannot.
Dash, wheel, seats, and floors
Take wide interior frames from the open front door, then close-ups of the steering wheel, dashboard, front seats, and floor mats. Show wear where it matters most: bolsters, armrests, pedals, and the driver’s seat edge. That is where buyers look for use patterns.
Odometer, infotainment, and controls
Photograph the odometer clearly, along with the infotainment screen, climate controls, and any drive-mode switches or shifter layout. If the mileage is high or low, show it plainly. If a warning light is on, buyers will notice it later anyway, so it is better to be direct.
Cargo space, rear seat, and storage
Take a clean trunk or cargo-area shot, plus one rear-seat image that shows legroom and condition. If the car has fold-flat seats, show that too. Small storage features matter more in some vehicles than others, but a buyer still wants to see usable space.
Car listing photos checklist
This checklist keeps the shoot tight and repeatable. It follows a 12-shot structure, which matches Listiq AI’s recommended 12-shot list, while still giving you enough coverage to reach the common 20–30 image range. Mr. The same source suggests 20–30 total car listing images.
| Required shot | Purpose | Camera position | Lighting preference | Common failure to avoid |
|---|---|---|---|---|
| Front three-quarter hero | First impression and main thumbnail | Front corner, about headlight height, 3–5 metres away | Bright overcast or open shade | Too close, crooked horizon, wheel turned straight |
| Rear three-quarter | Shows rear styling and panel fit | Rear corner at the car’s midpoint | Soft even light | Cut-off bumper or taillight |
| Left side profile | Body length and panel alignment | Direct side view, slightly off the centerline | Open shade | Tilting the phone upward |
| Right side profile | Completes exterior coverage | Opposite side, same distance | Open shade | Missing wheels or mirror |
| Front straight-on | Grille, headlights, and symmetry | Centered, a few metres back | Bright but diffused light | Eye-level angle that flattens the car |
| Rear straight-on | Tail lamps, trim, and rear condition | Centered behind the car | Bright but diffused light | Cropping the roof or bumper |
| Dashboard | Shows interior condition and layout | From open front door | Open shade or soft interior light | Glare on the screen |
| Steering wheel and gauges | Confirms trim and wear level | Driver seat area | Soft light | Blown-out reflections on plastic |
| Front seats | Shows bolster wear and cleanliness | Open front door, angled across cabin | Soft light | Hiding stains with shadows |
| Floors and mats | Reveals footwell wear | Low angle from the door opening | Bright ambient light | Trash or loose items in frame |
| Odometer | Verifies mileage | Close, square to the display | Low-glare light | Blur or unreadable digits |
| Cargo or trunk area | Shows usable storage | Directly behind the opening | Bright ambient light | Dark, empty-looking frame with no detail |
Exact camera position for each shot
Keep the same general distance for all exterior images so the listing feels consistent. The same source recommends 3–5 metres away, and that distance usually works well for most sedans, crossovers, and trucks. The car should fill the frame without cutting off mirrors, wheels, or lamps.
Vehicle details that help buyers decide faster
Add shots of the keys, engine bay, wheels and tires, and service records if you have them ready. These photos reduce back-and-forth questions. They also help buyers judge maintenance and tire condition before they message you.
A common first-timer mistake is to shoot the body well, then skip the one image that would explain a price difference. A curb rash close-up, a worn driver bolster, or a service record page can answer a buyer’s doubt in one frame.
How do you edit photos without fooling buyers?
Edit lightly. Use the phone’s built-in tools for exposure correction, warmth or color correction, straightening, and perspective fixes. Do not apply heavy filters or anything that changes the car’s true condition. The goal is clarity, not polish that hides reality.
Exposure, color, and straightening
If the photo is too dark, lift exposure a little. If the paint looks cold or yellow from mixed light, correct warmth modestly. Straighten the frame so the horizon and door tops look level. Minor perspective correction is fine when it keeps the car from looking warped.
What not to fix with filters
Do not push contrast so far that scratches disappear, and do not use filters that turn a gray car blue or a black car glossy in a way the real car does not match. Leave reflections, dents, and wear visible. Buyers can forgive age more easily than dishonesty.
When a crop helps and when it hurts
A small crop is fine if it removes a distracting edge or re-centers the car. Heavy crops are a problem if they cut off mirrors, wheels, badging, or damage. If the crop changes what the buyer thinks the car includes, it is too much.
Frequently asked questions
How many photos should a car listing have?
Mr. The same source suggests 20–30 total car listing images. Ten or more helps, but complete coverage matters more than a raw number. Aim for exterior angles, interior views, odometer, cargo area, wheels, tires, keys, and any flaws that a buyer needs to see before contacting you.
What angles should I use for car listing photos?
Use front three-quarter first, then rear three-quarter, both side profiles, front straight-on, and rear straight-on. The same source says front three-quarter is the hero shot, and Autopix recommends standing 3–5 metres away. Those angles give buyers the fastest read on shape, condition, and trim.
Should I use flash when photographing a car for sale?
Usually no. Flash creates glare on paint, glass, and chrome, and it can make the car look flatter than it is. Use ambient light instead. Only consider a weak flash for a dark interior detail if there is no other way to show the control clearly.
What interior photos do buyers want in a car listing?
Buyers want the dashboard, steering wheel, front seats, floors, odometer, infotainment, rear seat, and cargo or trunk area. Those photos show wear, cleanliness, and space. If the cabin has a stain, rip, or warning light, a clear close-up is better than trying to hide it.