Used Car Inspection: What to Check Before You Buy
Inspect a used car in four stages: paperwork, walk-around, cold start, and test drive, then sort each finding into three common buckets: cosmetic, negotiate, or walk away. If you miss rust, accident repair, title problems, warning lights, or engine and transmission faults, a cheap car can turn into a five-figure mistake. This guide gives you a working checklist, plus clear rules for when to buy, book a pre-purchase inspection, negotiate hard, or leave.
The key is prioritization. A door ding does not belong in the same class as fresh seam sealer, an airbag light, or burnt transmission fluid. One isolated flaw may be minor. Three smaller clues in the same area can point to hidden repair work, neglect, or water damage.
Stop early when the car shows deal-breaker combinations: structural rust plus fresh undercoating, a clean history report plus mismatched glass dates and overspray, or title problems plus odometer inconsistencies. That saves time and may save the pre-purchase inspection fee.
Decision rules
Sort findings by risk, not by how visible they
Use three buckets from the start. Cosmetic means appearance issues with low repair urgency. Negotiate means a fixable fault with a real cost, such as aged tires or a weak battery. Walk away means structural, safety, title, flood, or major drivetrain risk.
That framework matters because sellers often use clean paint, a washed engine bay, or a tidy cabin as proof of overall condition. Cosmetics can hide the expensive problems. Your buying decision should follow repair risk, not shine.
Why combinations matter more than single symptoms
A single replaced windshield is not proof of a crash. A replaced windshield plus non-matching fender paint, fresh bumper fasteners, and tape lines around trim is a different case. The same logic applies to flood clues, rust, and transmission behavior.
Say your history report shows no accident record, but the front left fender has a different orange-peel texture, the headlamp is newer than the one on the other side, and the hood bolts have tool marks. That is no longer a cosmetic question. It is a repair-quality question, and often a negotiation or walk-away call.
When to stop the inspection
Stop and leave if the VIN on the dash, door sticker, and title do not match, if the title is branded in a way the seller did not disclose, or if the airbag light does not complete a normal bulb check. A salvage title is a vehicle declared a total loss by an insurance company, and that should reset the entire risk calculation.
Also stop if you find structural rust at frame rails or suspension mounting points, obvious flood evidence, or major transmission signs such as slipping plus burnt or metallic fluid. Those are not “monitor it” issues.
What should you bring, and when should you inspect the car?
Inspect the car in full daylight on a dry surface if you can, and leave enough time for a full walk-around, a true cold start, and a road test that includes city speeds, a rougher stretch, and a higher-speed section. Bring a flashlight, phone, paper towel, tread gauge, and magnet; one published checklist also suggests a quarter, and a true inspection usually takes 45 minutes to one hour.
Best conditions for spotting hidden issues
Dry weather helps because wet paint and wet pavement can hide leaks, waviness, and rust staining. Daylight shows paint texture, panel alignment, and glass markings better than garage lighting. Avoid quick evening meetups unless the car has already passed the document stage.
A true cold start matters. Inspecting a car started cold from the previous night. Ask the seller directly not to warm it up before you arrive. A pre-warmed engine can hide startup smoke, lifter noise, rough idle, weak battery behavior, and hard-start problems.
Simple tools that help
- Flashlight for wheel wells, rocker panels, seat rails, and underbody seams.
- Phone for photos, VIN capture, and notes during the test drive.
- Paper towel for checking fluid color and wiping dipsticks.
- Tread gauge for tire depth and uneven wear comparisons.
- Magnet for detecting heavy body filler in suspect repair areas.
- Basic OBD scanner for stored codes, readiness monitors, and warning-light context.
Use your time in the right order
Paperwork comes first. If the title, seller name, VIN, and odometer trail do not line up, there is no reason to spend an hour crawling around the car. Some published checklists are long and cover several phases, which can help, but sequence matters more than count.
How do you inspect the body for accident damage?
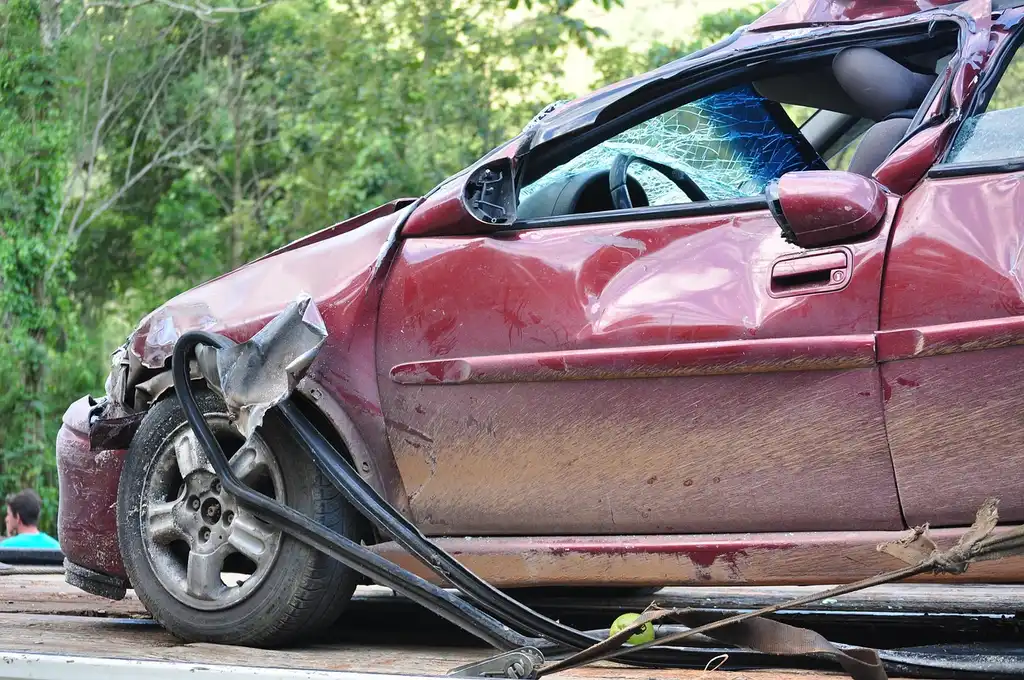
Check the body as a system: compare panel gaps side to side, read the paint for color and texture changes, inspect trim for fit, look for tool marks on bolts and fasteners, and read the glass date codes against the car’s build period. Accident repair often shows up as a pattern: uneven gaps, mismatched paint texture, overspray, disturbed bolts, fresh seam sealer, or one corner of the car wearing newer lamps or glass.
Look at gaps, reflections, and paint texture
Stand back and compare both sides. Uneven gaps around the hood, trunk, or doors can point to prior repair or poor reassembly. Then sight down the side of the car and watch the reflections for ripples or waviness. Fresh paint may also differ in gloss or orange-peel texture.
Paint consistency matters most at edges. Check door jambs, weatherstrip lines, panel bottoms, and the edges around lamps and trim for tape lines or overspray. A bumper with a slightly different texture can be normal after a parking-damage repair, but inconsistencies at the fender, hood, and pillars raise the stakes.
Inspect bolts, seam sealer, and trim
Open the hood and doors and inspect painted bolts. Tool marks, chipped paint on bolt heads, or mismatched fasteners suggest panel removal. Fresh seam sealer that looks smoother, glossier, or newer on one side can point to repair work, especially in the trunk, radiator support, or inner fenders.
Trim fit tells its own story. Loose clips, proud edges, or a bumper that sits slightly lower on one side often signal rushed repair. Headlamps and taillamps should sit evenly and match in age and clarity.
Check glass date codes and VIN labels
Glass date codes should be reasonably consistent for the vehicle’s build period. One replaced windshield is common. Side glass or quarter glass with different dates on the same side as fresh paint is more suspicious. Also check VIN labels on doors, fenders, hood, or hatch where the manufacturer uses them. Missing or disturbed labels deserve follow-up.
A clean history report does not rule out private-party repairs, cosmetic repainting, unreported crashes, or flood damage. History reports are useful, but they are records, not x-rays.
How do you check for rust and flood damage?
Split rust into two categories right away: surface rust and structural rust. Surface rust on fasteners or exhaust parts may be manageable; rust on rocker panels, frame rails, floor pans, or suspension mounting points changes the safety and repair picture and can move the car straight to walk away.
Where rust matters most
Start at wheel wells, rocker panels, door bottoms, and hatch or trunk edges. Bubbling paint often means rust is already active underneath. Then look underneath at frame rails, floor pans, crossmembers, pinch welds, underbody seams, and suspension mounts.
Surface rust usually looks thin and local. Structural rust flakes, swells, perforates, or weakens seams and mounting areas. Fresh undercoating over scaly metal is not reassurance. It can be concealment.
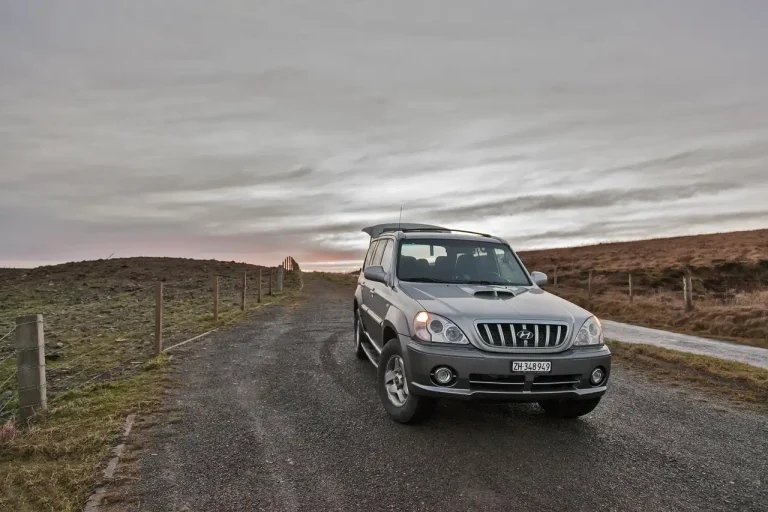
Picture a compact SUV that looks clean from ten feet away, but the rear wheel arch lip has small paint bubbles, the rocker seam is swollen, and the rear subframe mounts show flaking rust. That combination is a stronger warning than one rusty fastener under the hood.
Flood clues inside and underneath
Flood damage often leaves more than one trace. Smell for mildew or a sweet deodorizer covering mustiness. Check carpet edges, under floor mats, seat rails, the spare-tire well, trunk side pockets, and lower insulation for dampness, staining, or silt.
Then inspect connectors and metal hardware. Corrosion on seat mounts, green or white residue on electrical terminals, water lines inside the trunk, or mismatched interior hardware can point to prior water intrusion. Flood evidence plus electrical glitches is usually a walk-away result.
When rust or water evidence ends the deal
Walk away from structural rust at suspension mounting points, floor pan perforation, widespread underbody seam corrosion, or flood clues that reach wiring and restraint systems. Negotiation makes sense for a small rust blister on a non-structural panel. It does not make sense for a wet wiring loom and an airbag light.
What should you check under the hood?
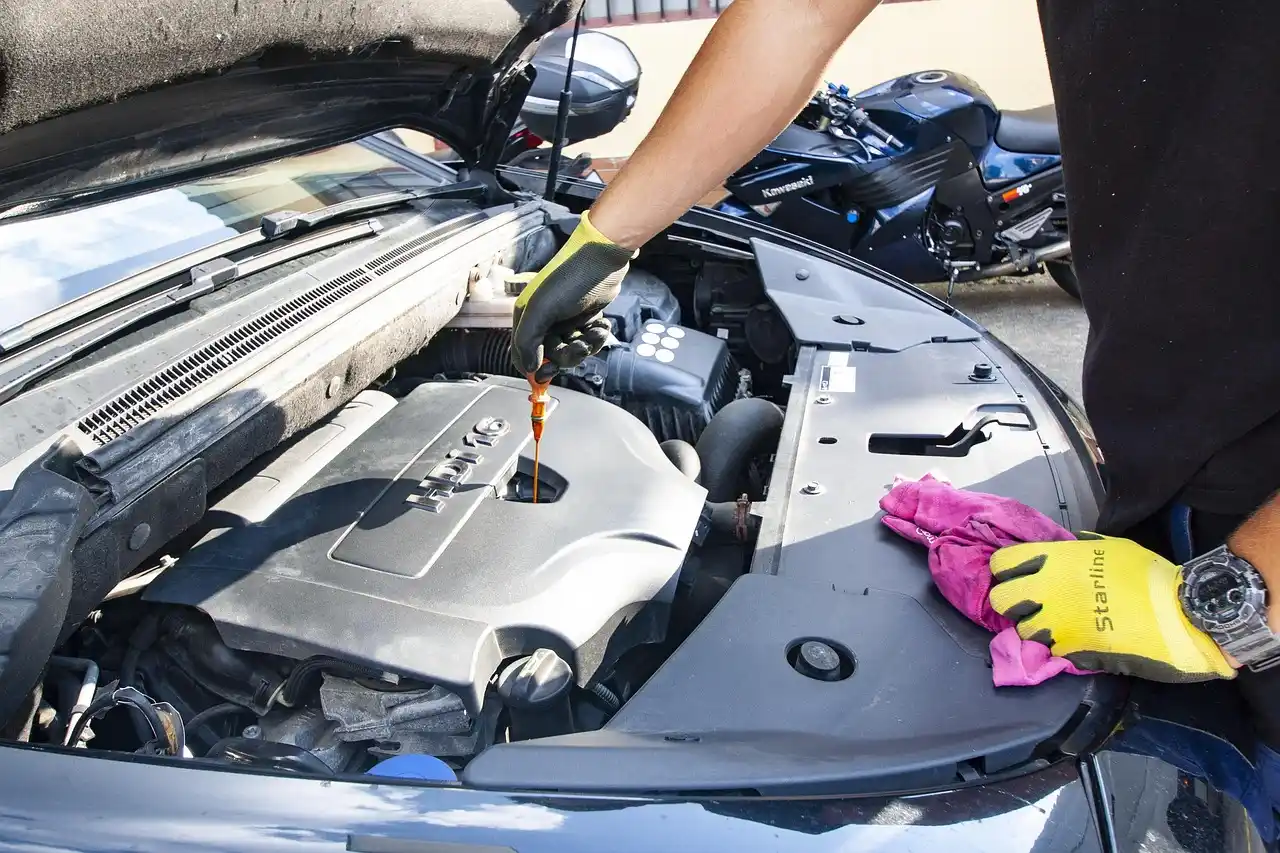
Check fluids, leaks, belts, hoses, battery condition, and general signs of neglect. You are not trying to diagnose every internal fault. You are looking for evidence of poor maintenance, overheating, active leaks, or drivetrain wear that changes the buy, negotiate, or walk-away decision before paying for deeper inspection.
Fluids that change the decision
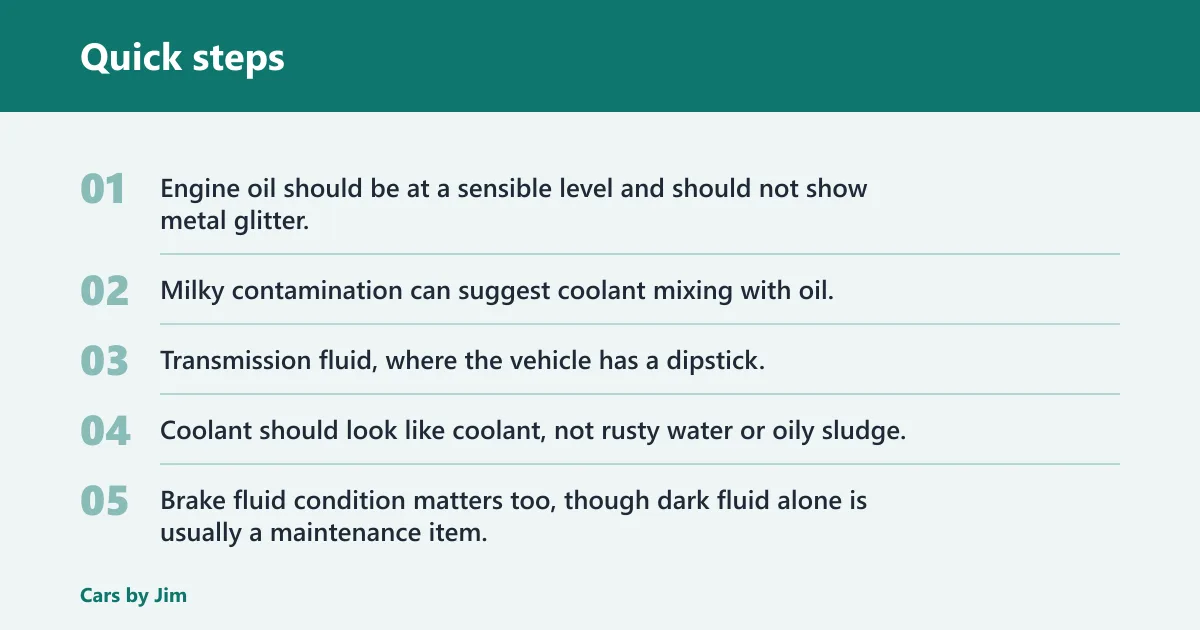
Engine oil should be at a sensible level and should not show metal glitter. Milky contamination can suggest coolant mixing with oil. Transmission fluid, where the vehicle has a dipstick, should not smell burnt or show metallic debris; one automotive source warns that burnt or metallic transmission fluid is a bad sign.
Coolant should look like coolant, not rusty water or oily sludge. Brake fluid condition matters too, though dark fluid alone is usually a maintenance item, not a deal-breaker. Low levels need context: topping off may hide pad wear, a leak, or neglect.
Leaks, seepage, belts, and hoses
Separate dampness from active leakage. Light age-related seepage around a valve cover may be negotiable. Drips on the ground, oil sprayed onto nearby parts, burnt smells, or coolant crust around hoses and pump areas call for more caution.
Belts should not show cracks, fraying, or glazing. Hoses should feel resilient, not brittle or swollen, and clamps should fit correctly. Look at pulleys for wobble or misalignment. Corroded battery terminals, missing covers, and random universal clamps often point to broader neglect.
Hybrid and EV differences
On hybrids and EVs, the priorities shift. Check for warning messages, charging-port damage, proper charge-cable fit, and service records for battery and cooling-system work where applicable. Hybrid cooling loops, regenerative braking behavior, and any battery-health readout deserve extra attention.
ADAS-equipped cars also need another layer of caution. If the windshield was replaced or the front bumper was repaired, cameras and radar may need calibration. A clean-looking repair with no proof of calibration is a negotiation point at minimum, and sometimes a reason to pause the deal.
What should you inspect at the tires, brakes, and underneath?
Tires, brakes, and underbody parts reveal alignment problems, suspension wear, neglected maintenance, and hidden collision or rust issues. Read the wear pattern, not only the tread depth. Uneven wear, old tire dates, bulges, fresh undercoating, or brake and suspension clues underneath can move a car from negotiable to risky fast.
Tires: age, condition, and wear patterns
Check tread across the full width, not only the center. Inner-edge wear can suggest alignment or suspension issues. Feathering often points to toe problems. Cupping can suggest worn shocks, struts, or other suspension faults. Sidewall cracks and bulges call for replacement.
Read the DOT date code. Tires over 6 years old should be replaced. In cold regions, tire legality and suitability matter too; for example, winter tires are legally required in Quebec from December 1 to March 15.
Brakes and visible suspension clues
Look through the wheels if possible. Heavy rotor lips, deep grooves, or one wheel covered in unusual brake dust can hint at uneven brake work. Bounce each corner lightly; repeated oscillation suggests worn dampers. Uneven ride height, visible torn bushings, or clunks over small bumps on the test drive matter more than a little surface rust on brake hardware.
Underbody checks without special tools
Use a flashlight to inspect floor pans, frame members, exhaust hangers, brake lines, and splash shields. Watch for fresh scrapes, bent pinch welds from poor lifting, torn undertrays, fluid trails, and new undercoating that hides old metal. Fresh coating in one area should lead to closer rust and repair checks nearby.
What should you test inside the cabin and on the dash?
Test every frequently used control and watch the dash carefully during key-on and startup. Power accessories, climate functions, warning lights, and seatbelts can reveal flood damage, electrical faults, crash-repair shortcuts, or disabled indicators. The goal is not convenience alone. It is proof that major systems still report faults normally.
Electrical and interior systems
Run the power windows, locks, mirrors, seat adjustments, infotainment, backup camera, USB ports, wipers, washers, horn, and all exterior lights. Test the A/C, heater, and every blower speed. If several unrelated features fail, suspect more than a blown fuse.
Check the headliner, carpets, and cargo area for staining or trim disturbance. Loose console panels, broken clips, and missing screws often point to prior electrical or body work. A backup camera image with delay, flicker, or water inside the lens is worth noting.
Safety systems and cluster self-check
Seatbelts should latch cleanly and retract with normal force. At key-on, the instrument cluster should perform its normal self-check, with major warning lights illuminating briefly and then turning off.ng off if no fault is present. That includes the airbag, ABS, TPMS, and check-engine lights.
If a light never appears during self-check, ask why. An absent airbag or check-engine light can be as concerning as one that stays on. Warning-light tampering is a walk-away issue.
What should you look for during the test drive?
Start with a true cold start, then test idle, acceleration, shift quality, steering, braking, and noise at varied speeds. A short loop around the block is not enough. The test drive should include stop-and-go traffic, a 45-55 mph stretch, several moderate stops, and a parking-lot full-lock check, because that is where tracking, shift quality, brake feel, and drivetrain noises usually show up.
Cold start and idle
Listen before moving. Long cranking, rattles, ticking that persists, rough idle, or visible exhaust smoke after startup deserves attention. Brief condensation vapor on a cool day is one thing. Ongoing blue, white, or heavy black smoke is another.
Acceleration, shifting, and steering
On the road, note hesitation, surging, slipping, hard shifts, delayed engagement, steering pull, or vibration. Automatic transmissions should not flare between gears. Steering should feel centered and consistent, not vague or reluctant to return after a turn.
Braking, noises, and low-speed checks
Brake from neighborhood speed and from a higher safe speed. The car should stop straight without pulsation, grinding, or a sinking pedal. Listen for wheel-bearing hum, suspension knocks, and CV-joint clicking. In a parking lot, do full-lock turns in both directions and note shudder, clunks, or tire scrub.
A common first-timer mistake is driving only on smooth surface streets for five minutes. That misses cold-start behavior, brake pull, highway vibration, and parking-lot noises that show up only at full lock or over sharp low-speed bumps.
Inspection findings matrix
| Finding | Bucket | Repair urgency | Example symptoms | Next action |
|---|---|---|---|---|
| Minor door dings or light scratches | Cosmetic | Low | No rust, no panel distortion | Buy if price fits; note for minor discount |
| Single bumper repaint with good fit | Cosmetic | Low | Slight texture difference, no structural clues | Buy or negotiate lightly |
| Panel gap variation plus overspray and tool-marked bolts | Negotiate | Medium | One corner shows repair evidence | Request repair records and PPI; negotiate if structure is clean |
| Mismatched glass dates on one side with fresh seam sealer | Walk away | High | Clean history report but multiple crash clues | Leave unless a body specialist documents proper repair |
| Surface rust on exhaust or fasteners | Cosmetic | Low | Light orange film, no swelling or perforation | Buy if the rest checks out |
| Rust bubbles on wheel arch or door bottom | Negotiate | Medium | Paint blistering, local corrosion | Budget body repair or lower offer |
| Structural rust on frame rail, floor pan, or suspension mount | Walk away | High | Flaking, swelling, holes, weakened seams | Leave |
| Tires with even wear but low remaining tread | Negotiate | Medium | Need replacement soon | Price in a full set |
| Tires over 6 years old | Negotiate | Medium | Old DOT date code, no visible damage required | Budget immediate replacement |
| Bulges, sidewall cracks, or severe inner-edge wear | Walk away | High | Safety risk, possible suspension or alignment problem | Leave or require full diagnosis before any offer |
| Dark engine oil but proper level and no contamination | Negotiate | Low | Maintenance overdue, no metal or milkiness | Use as service-negotiation point |
| Burnt or metallic transmission fluid | Walk away | High | Harsh shifts, slip, burnt smell | Leave |
| Light seepage at an older gasket | Negotiate | Medium | Damp area, no active drips | Get PPI estimate and lower offer |
| Active oil or coolant leak with residue and smell | Walk away | High | Drips, spray pattern, burnt odor | Leave unless repaired and verified |
| Cracked belt or brittle hose | Negotiate | Medium | Visible aging, neglect clues nearby | Budget immediate service |
| One inoperative window switch | Negotiate | Low | Single feature fault, no flood clues | Estimate repair and negotiate |
| Multiple electrical faults plus corrosion on connectors | Walk away | High | Windows, locks, camera, lights acting up | Leave; suspect flood or wiring damage |
| Airbag light stays on or never illuminates at self-check | Walk away | High | SRS fault or tampering risk | Leave |
| Musty smell, damp carpet, silt in spare-tire well | Walk away | High | Water line, stained insulation, rusty seat rails | Leave |
| Salvage title, odometer mismatch, or VIN inconsistency | Walk away | High | Title brand, mileage gaps, registration anomalies | Leave unless fully disclosed and priced as such |
Do you need a pre-purchase inspection and history report?
Yes, if the car survives your first screening. A pre-purchase inspection by an independent mechanic before purchase usually costs $100-200, and it should be used as a go or no-go filter, not as a substitute for your own checks. The history report matters too, but it cannot confirm hidden repairs or flood damage.
What a proper PPI should cover
A solid PPI should cover the engine, transmission, brakes, suspension, cooling system, electrical system, and structure. Ask for a lift inspection, scan-tool check, and written report. That written report is what turns vague concern into a repair estimate or a stop-buying-now answer.
What to review in the paperwork
Match the VIN on the dash, door sticker, and title. Check title brands, lien status, odometer readings, service records, registration history, and recall status. Odometer records that jump backward, long registration gaps, or service records that stop right before sale all deserve explanation.
Suppose the car drives well and looks clean, but the history report shows three state moves in a short span, then a mileage entry lower than the previous one. Even if the seller has a tidy bill of sale, that is a pause-and-verify issue before any deposit changes hands.
How to use the PPI and history together
If the car has only cosmetic faults, buy if the price is right. If it has negotiable faults, total the repair costs first and make the offer second. If the PPI finds structural damage, major leaks, transmission trouble, flood evidence, or airbag-system faults, walk away.
How to turn a quick inspection into a buying decision
A good inspection is less about spotting every flaw than deciding whether the car is worth your money. The supporting guide walks you through a practical three-pass check so you can separate normal wear from red flags like rust, leaks, title trouble, or signs of hidden repair costs. It also shows how to use what you find to choose between buying, negotiating with evidence, or walking away.
If you want a clear step-by-step process, start with used car inspection because it explains what to check, what each finding means, and how to avoid expensive surprises after the purchase.
Frequently asked questions
What should I check on a used car before I buy it?
Check paperwork, body condition, rust, fluids, tires, warning lights, electrical features, and test-drive behavior. Then sort each finding into cosmetic, negotiate, or walk away. The most expensive misses are usually structural rust, flood damage, title problems, and drivetrain faults, not minor paint flaws.
How do I inspect a used car before buying it?
Inspect in daylight with a cold engine, starting with the VIN, title, and history report. Then do a full walk-around, under-hood check, cabin and warning-light check, and a test drive at varied speeds. Finish with an independent PPI if the car still looks worth pursuing.
What hidden problems should I check for in a used car inspection?
Look for unreported collision repair, flood damage, structural rust, warning-light tampering, and transmission trouble. Hidden-problem clues often come in groups: mismatched glass dates with overspray, musty carpet with corroded connectors, or a clean history report paired with fresh seam sealer and disturbed fasteners.
Do I need a professional inspection before buying a used car?
In most cases, yes. A pre-purchase inspection by an independent mechanic usually costs $100-200 and can confirm issues you suspect during the visual check. It should cover major mechanical systems and structure and give you a written report for a final buy, negotiate, or walk-away decision.
What should I test during a used car test drive?
Test cold-start behavior, idle quality, acceleration, transmission shifts, straight-line tracking, braking, vibration, wheel-bearing noise, suspension knocks, and full-lock turns in a parking lot. A quick warm-engine loop misses too much, especially startup smoke, harsh shifts, and noises that appear only under load.
What documents or history report should I review before buying a used car?
Review the title, VIN match, lien status, odometer readings, service records, registration history, recall status, and any history-report title brands or accident entries. Treat a clean report as useful but limited. It cannot rule out private-party repairs, cosmetic repainting, unreported crashes, or flood damage.